Introduction
A very common question is, “How should we install our oak mantel or fireplace beam?”
The short answer is that it depends on the type of structural wall you are attaching it to. Oak mantels are supported in a number of ways and the three main choices are listed below.
Ultimately it is the responsibility of the installer to ensure the oak mantel is fitted properly and in accordance with HETAS regulations.
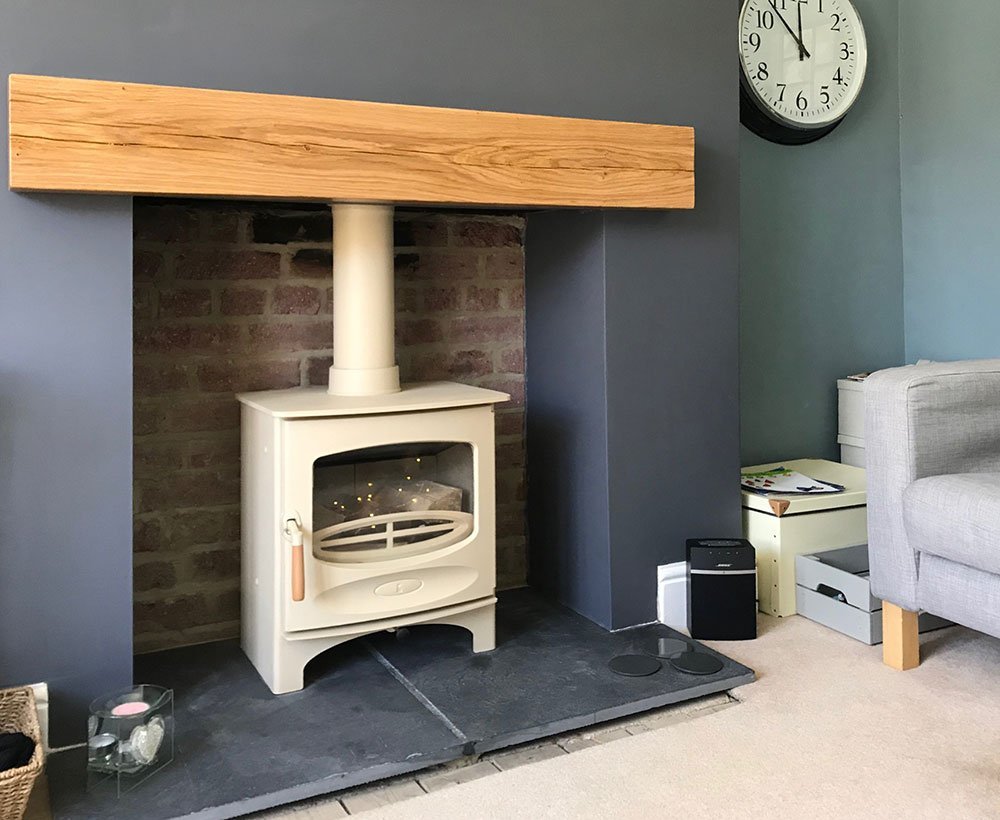

Face Fixing Using Pegs
Some beams are able to be face fixed to a supporting wall by screwing through the face of the beam. This is achieved by us pre-drilling the face with four small holes in each corner 20mm in diameter.
The holes are countersunk allowing the head of a screw to be hidden within the beam. To disguise the screw, we provide four matching oak pegs that provide an additional feature.
The reverse of the beam will be planed flat to rest against your wall. Any irregularity or gaps where the oak beam meets the plasterwork can be remedied by using decorators caulk.
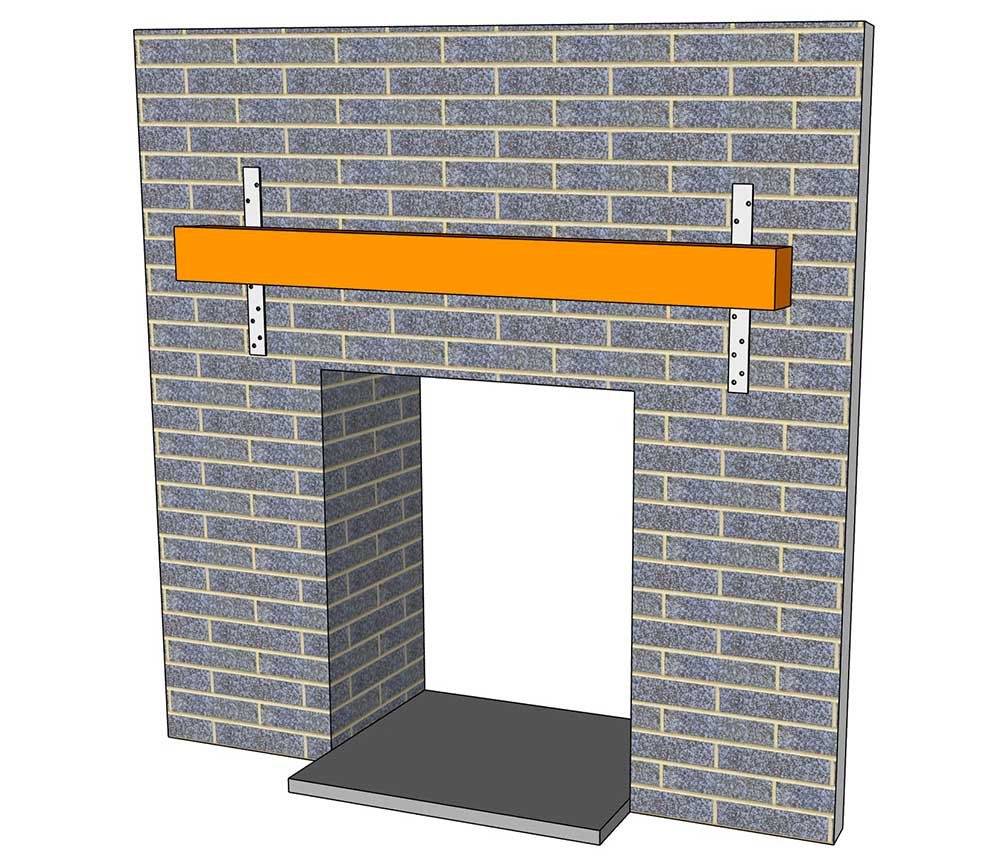
Builders Straps
Another alternative is to attach builders straps to the reverse of the beam prior to any plastering or decorating. The top and bottom tails of the strap are then screwed to the supporting wall and are hidden by the plasterboard.
Please note, oak and plaster do not mix and therefore we would strongly recommend covering your oak beam with plastic or suitable material to protect from any splashes of plaster.
The diagram to the right shows how this would work.
We would only recommend this for up to 140mm x 140mm x 1220mm due to the weight of the beam. Advice should be taken from your installer if in doubt.
Note:
Oak contains tannin acid and ordinary mild steel screws will react with the oak and may, over a long period of time, start corroding the screw. We would recommend using stainless steel or passivated screws to attach the builders strap to the oak beam. A suitable screw should be used fixing the strap to the supporting wall.
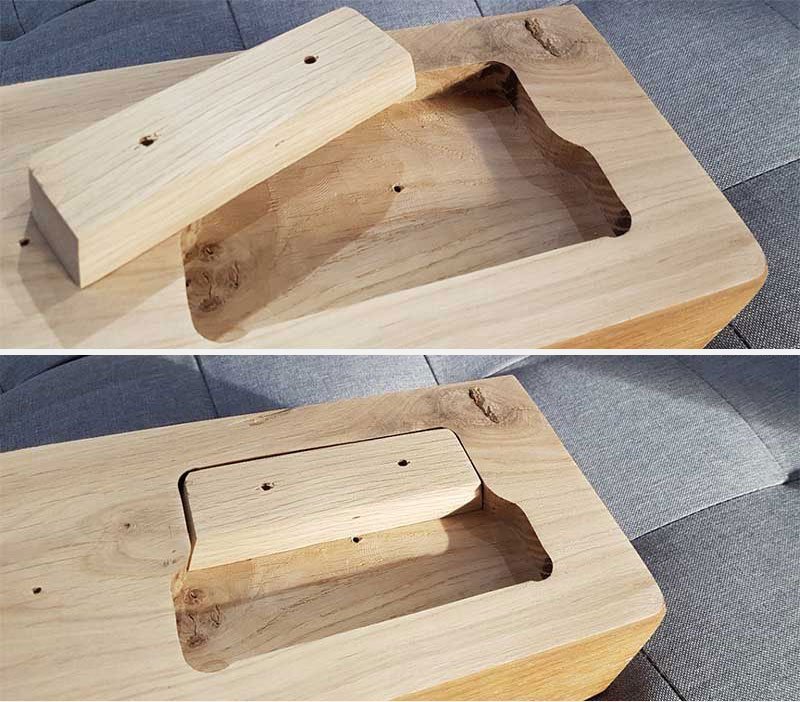
Invisible Fixing Kits*
The following system is designed to allow an oak beam to give the appearance that it is floating*
- Limits any mess and hassle
- Easy to fix and install
- Supports different wall types
- Fits most Beam up to 190mm x 190mm
This simple solution allows you to fix 2 small oak plates to your wall to support the beam. Fixing these securely is paramount and the type of fixing (screw) you use will be dependent on the type of wall you are fixing to.
We can provide advice if needed although the responsibility of ensuring a decent fix would be down to the installer. With the 2 supports in place, it is simply a matter of lifting the beam over and sliding down upon the supports. Pictured left, the reverse of the beam and supports have opposite chamfers causing the beam to ‘lock and grip’.
Minimum dimensions for this fixing are a height of 130mm. Should your beam be under 1100mm, the dimensions indicated on the fixing kit instruction form need manually altering to suit your requirements.
* There is an associated cost for this service.